Getting Started
Requirements
You will need:
- Node.js version 17.0+
- An editor like VS Code
- A web browser with WebGL support
Creating a new project
The easiest way to get going is to start with a template. For example:
When you’ve picked your template, click the “Use this template” button on its GitHub page, then “Create a new repository”.

After you’ve filled in the form to choose a repository name and description, you’ll be presented with the repository page for your newly created project.
Finally, clone your new repository to your local machine.
Install dependencies
Open a terminal in the directory containing your new project, then run the following:
npm install
This will download all the requirements you need to build and test your game.
Project structure
Your game code will be structured something like this:
package.json        # Defines dependencies, and how to build the game
tsconfig.json       # More configuration for building the game
src/index.ts        # Entry point for your game
src/game.ts         # Main game class
src/player.ts       # Player class
src/table.ts        # Table object layout
src/actions/*.ts    # Async functions implementing game logic
Compilation and testing
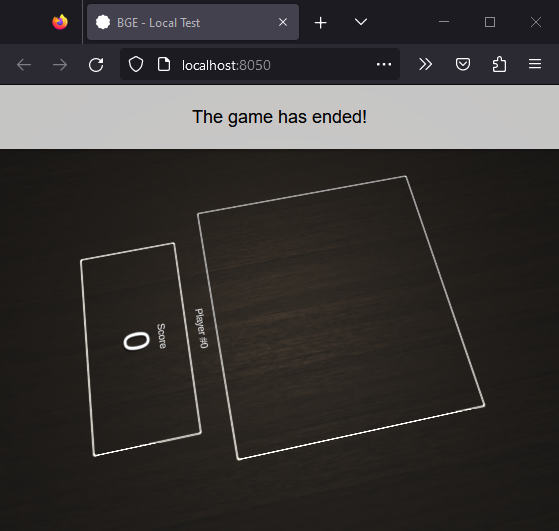
Assuming you’re using VS Code, pressing F5 should start debugging your game. A browser window will open to let you interact with the running game.
It’ll recompile your game whenever you change a .ts file, then replay whatever actions you performed in-game but with the new changes applied.
This replay playback can diverge if you change which decisions players are prompted with.
You can also just build the project once without launching a test server:
npm run build
This will generate the JavaScript for your game in /dist.